What happens between templating and countertop installation?
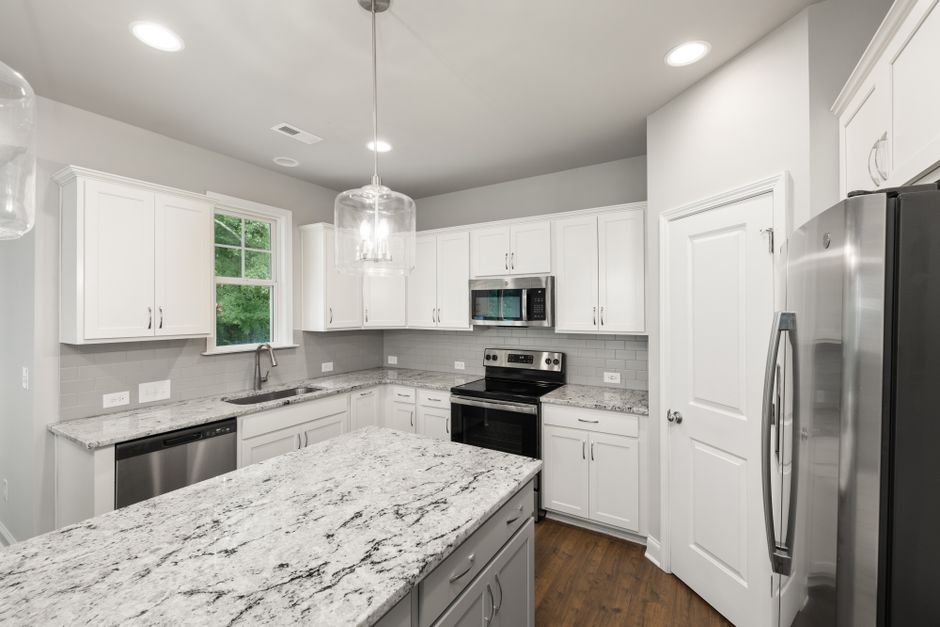
On a kitchen with long wall runs, an island overhang, and an undermount sink, the order of work matters more than any single step, and the sequence (as laid out at countertops tulsa aedreams) runs from templating through to the final sink cure on a countertop job in Tulsa, OK. Skip or rush one stage and the next one inherits the error.
Templating comes first
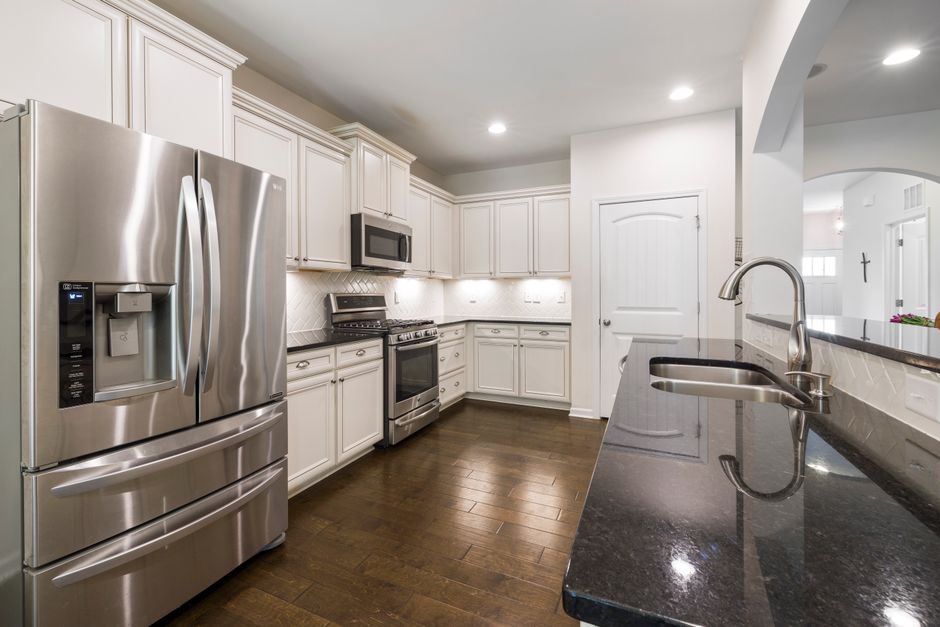
Templating records the cabinet layout, wall conditions, overhangs, and cutouts. It is done with physical patterns or digital measuring tools. A template is still needed when old tops are being replaced, because walls bow, cabinets settle, and the old top was cut for a different layout. Measurements taken off the old piece carry its mistakes forward.
Planning the slab
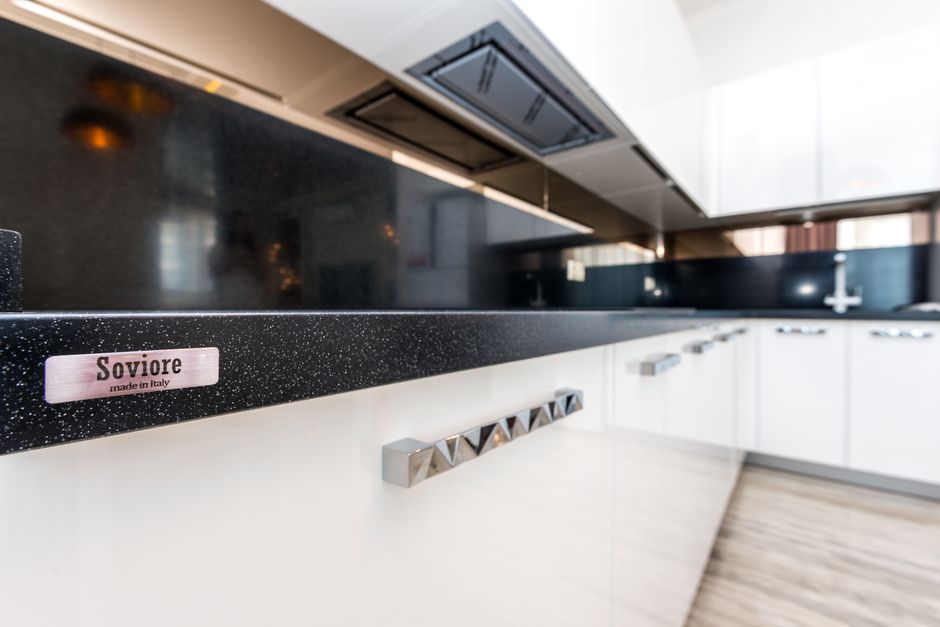
Before any cutting, the fabricator lays the pieces out on the slab. Size, veining, seam placement, and defects in the material all decide where each piece falls. Granite, quartz, and marble each behave differently here, since veining on natural stone has to flow across a joint while a quartz pattern is more uniform. A remnant can cover a small vanity or a bar top without buying a full slab. Timelines differ by material, so no single schedule fits every job.
Cutting and shaping the edge
Stone is commonly cut with bridge saws, waterjets, or CNC equipment. Water runs over the cut to control heat and dust. The edge profile is shaped and polished after the pieces are cut. An eased edge is the plainest, a bullnose rounds the whole corner, and laminated edges build up layers to look like a thicker top. A waterfall edge needs mitered pieces, so grain and pattern are matched before the cut.
Moving the pieces
Large stone pieces are usually carried on edge. Flat, without full support, a long piece can crack, especially across a sink cutout where little material is left. Crews plan the route through doors, hallways, and tight corners before the truck is unloaded.
Installation and seams
At installation, the crew dry fits every piece first, adjusts for level with shims, and scribes or trims where the stone meets an uneven wall. Seams are typically joined with color-matched epoxy or a similar adhesive. The joint is then leveled and cleaned before the adhesive fully cures. A well-made seam is tight and flat, but it will not always disappear, and light and pattern decide how visible it stays. Undermount sinks are secured to the underside of the top. The installer's cure instructions should be followed before the sink is loaded or used, so the bond is not stressed while it sets.