Countertops in Tulsa, OK
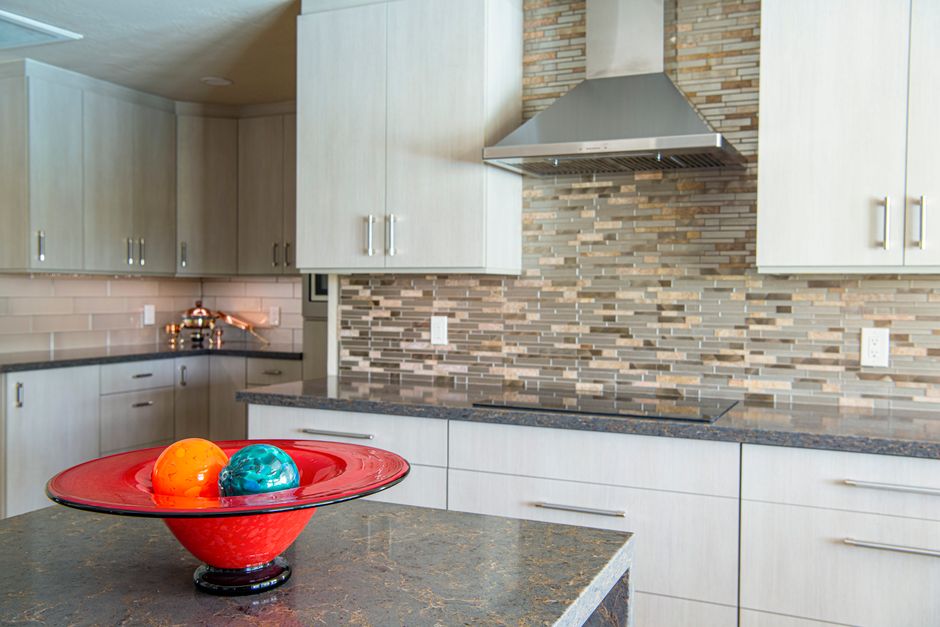
Plain answers for Tulsa, OK homeowners planning new countertops, from choosing materials and preparing the kitchen to scheduling around the weather, solving problems linked to clay soil, and judging the finished work.
What We Cover
- Why did my countertop crack or a seam open up? Understand how clay soil movement, poor support, impact, and heat can lead to cracks and seam gaps, and what to check first.
- What happens between templating and countertop installation? Follow the usual steps from measuring and slab layout to cutting, edge finishing, seam work, setting, and final inspection.
- Which countertop material suits a humid Tulsa kitchen? Compare how stone, quartz, solid surface, laminate, and wood respond to humid summers, drier winter air, heat, and daily kitchen use.
- How do I judge the quality of countertop work? Know what to ask before hiring and what to inspect at installation, including slab selection, seam placement, support, edges, and cutouts.
- How do I prepare my kitchen for countertop templating? Learn what to clear, level, and decide before templating so your new countertops fit an older or shifting Tulsa home.
- How does Tulsa weather affect a countertop installation? See how heat, cold, rain, wind, and humidity can affect slab handling, adhesive working time, material acclimation, and install day plans.
Countertops in Tulsa, OK
A countertop job in Tulsa runs in six steps: choosing a material, preparing the kitchen, templating, fabrication, installation, and early care. Each step depends on the one before it, so a rushed choice early shows up as a problem at the sink or the seam later.
Choosing a Material
Material choice is a tradeoff, not a ranking. Stone, quartz, solid surface, and laminate each handle heat, moisture, stains, and weight differently. Summers here are hot and humid, so think about how a surface sits near a dishwasher, a sink, and a window that sweats in July.
Seams, edge profiles, and cutout sizes also vary by material. Weigh these against how the kitchen is actually used.
Walls, Floors, and Soil
Measure the room instead of assuming it is square. Older houses, including those in established areas near the Philbrook Museum of Art, may have walls that lean and floors that dip. A level laid on the cabinet run tells more than a guess, and shims fix what the cabinets cannot.
Clay soils in many parts of Tulsa County swell when wet and shrink when dry. That movement can shift some houses over time, but it does not mean every home has a foundation problem. Hairline gaps at a backsplash or a seam that opens after a wet spring are worth noting and checking.
Templating to Installation
Templating captures the exact shape of the cabinet run, so clear cabinets, empty counters, and open access to the sink and range matter. After that, the slab or sheet is cut, the edges are shaped, and cutouts are made in the shop. Installation follows with dry fitting, leveling, seaming, and sealing where the material calls for it.
Weather plays a part. Cold snaps, strong spring storms, and heat all affect adhesives, doors left open, and how a delivery crosses the yard. Whether the job sits near Gathering Place or across town near Cain's Ballroom, the same checks apply.
Guides
The guides cover templating prep, material choice for a humid kitchen, the steps between templating and installation, weather effects, causes of cracks and open seams, and how to judge the quality of finished work.
Latest Guides
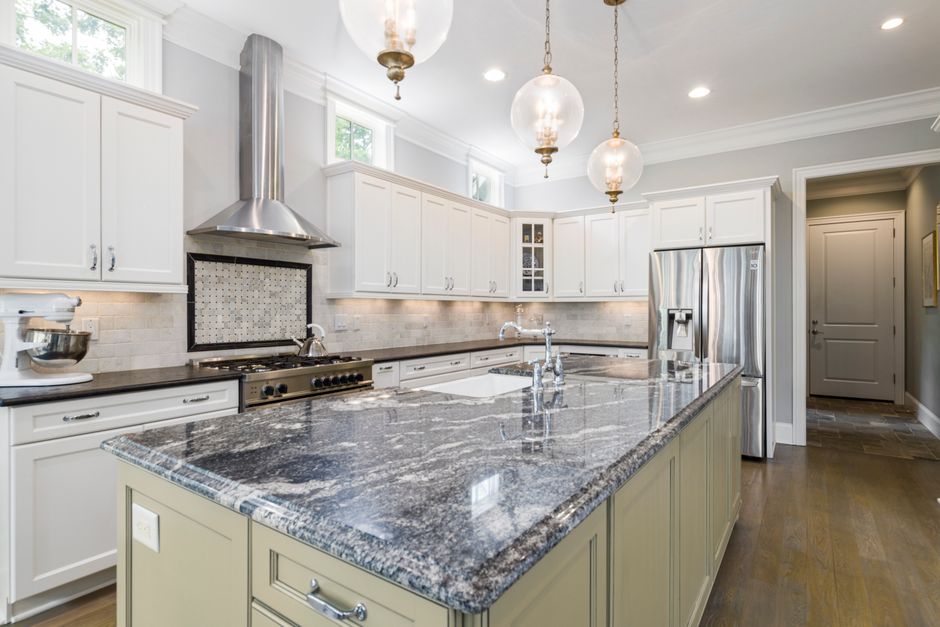
Countertop Care in Tulsa: Daily Habits That Make Tops Last
2026-11-09
Warm water, a few drops of mild dish soap, a soft cloth and a dry towel are the daily habit that keeps nearly every countertop material in good shape. The rest of the routine depends on what your top is made of, because granite, marble, quartz, solid surface, laminate, butcher block and tile each fail in different ways.
Start by Confirming Your Material
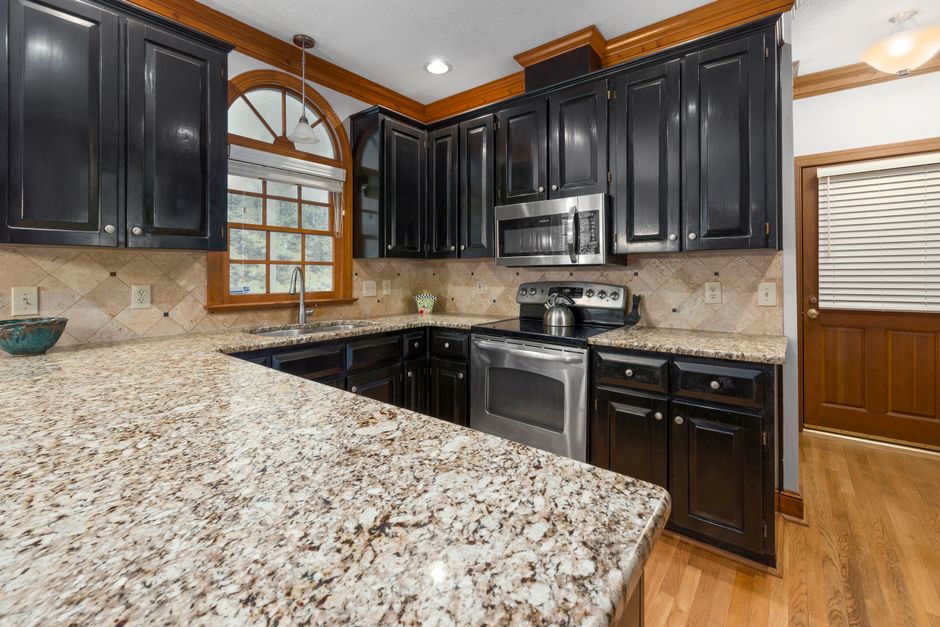
A cleaner that is fine on one surface can ruin another. If you are not sure what you have, check the paperwork from the installation or ask the fabricator who built the top. Many Tulsa homes mix eras: original laminate or tile in older ranch houses, granite from a 2000s remodel, and engineered stone in newer kitchens. Knowing which one you own decides everything below.
The Baseline Routine for Every Surface
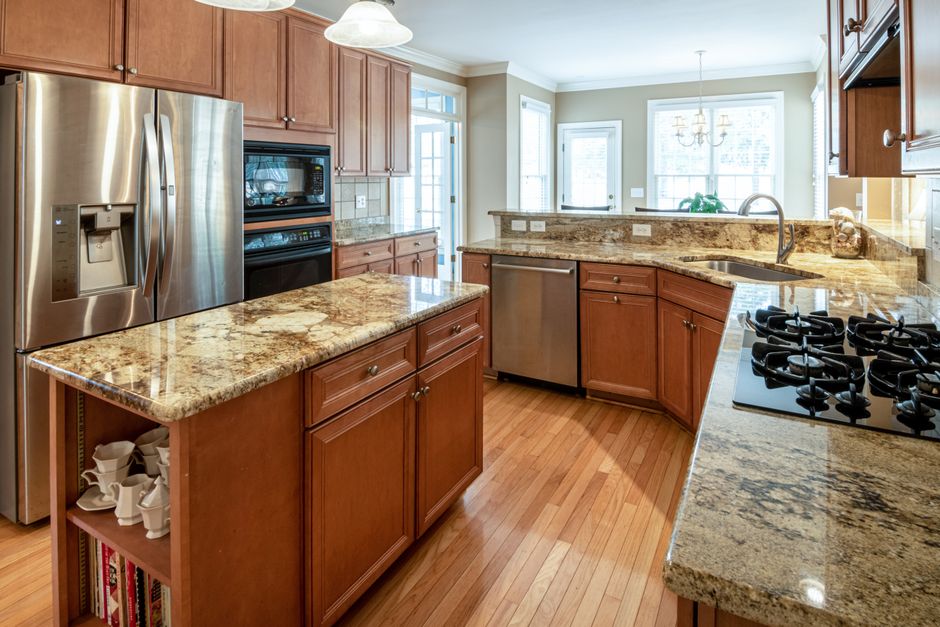
Wipe with warm water and a few drops of mild dish soap on a soft cloth or microfiber. Then dry the surface. Drying matters more than it seems: it prevents mineral spots and keeps water from sitting at seams and sink edges, where most countertop damage starts.
For stone, skip bleach, ammonia, abrasive powders and harsh degreasers as routine cleaners. Repeated use can break down sealer and dull the polish. Plain soap and water, or a cleaner labeled safe for stone, does the job.
Spill Response: Blot First
Blot a spill right away instead of wiping it. Wiping spreads the liquid across more surface, while blotting lifts it. Then clean with soap and water.
Put these first in line: oil, red wine, coffee, tea, turmeric, beet juice and colored drinks. They are the usual culprits on light stone, marble, concrete and grout.
If oil has already darkened natural stone, scrubbing usually makes things worse by dulling the polish around the spot. A poultice, which is an absorbent paste left on the stain for a day or two, draws the oil out more gently.
Habits by Material
Granite and Other Natural Stone
Run a water drop test a couple of times a year. Leave a small puddle on the stone for several minutes. If the stone darkens beneath it, it is absorbing water and is due for resealing. If it stays the same, leave the sealer alone. Many dense granites rarely need sealing, while lighter or more porous stones need it more often, so the test tells you which kind you have rather than a fixed calendar.
Granite is tough, but it is not immune to thermal shock. A sudden hot spot on a cold slab, especially near a seam, a sink cutout or a thin section by the cooktop, concentrates stress. Trivets protect granite too.
Marble, Limestone, Travertine and Onyx
These stones are calcium based, so acids attack them. Vinegar, lemon juice, tomato sauce, wine, soda and many bathroom cleaners leave dull spots called etch marks. An etch is surface damage, not a stain, and sealing does not prevent it. Sealer slows stains, not acid. The daily habit here is simple: keep acids off the surface, wipe splashes quickly, and use a coaster under every glass.
Vinegar and lemon are popular "natural" cleaners, but they are not safe for all countertops, and marble is the clearest example.
Quartz and Other Engineered Stone
Engineered stone such as Cambria does not need sealing, but its resin binder is the weak point. A hot pan set straight down can scorch, yellow or crack it. Quartz is not heatproof, stainproof or indestructible, so use a trivet every time, including for a pan that is "only warm."
Solid Surface (Corian, Avonite and Similar)
Solid surface scratches more easily than stone, but the color runs all the way through, so light scratches and minor burns can usually be sanded out. Use only the cleaners and scrub pads the manufacturer approves for your finish. A glossy finish shows scuffs that a matte finish hides.
Laminate
Laminate has two enemies: heat and standing water. Never set hot cookware on it. Heat can blister the surface or loosen the glue holding it to the particleboard core, and laminate cannot be refinished, so a burn is permanent.
Wipe up water at seams, around the sink rim and along the backsplash. Once water reaches the particleboard, it swells, and swollen seams cannot be flattened again. This matters in the many older Tulsa ranch homes that still have original laminate with aging seams.
If laminate sits over a dishwasher, do not open the door and let steam roll straight up against the underside of the counter edge. Repeated steam can swell the substrate along the front.
Butcher Block
Oil butcher block when it starts to look pale or dry, using food safe mineral oil or a board cream. Olive and vegetable oil can turn rancid, so skip them. Tulsa's humid summers followed by dry, furnace heated winters make wood swell and shrink, so check more often in winter for dryness and fine cracks.
Never leave a wet sponge, a dish rack or pooled water on the wood, especially near the sink. Constant moisture causes dark staining, softened wood and open joints.
Tile
Tile wears out at the grout first. Clean grout with a soft brush and a neutral cleaner, and seal it when water darkens it. Heat can crack individual tiles, so trivets apply here as well.
Heat Protection Beyond the Hot Pan
Trivets handle the obvious cases. The sneakier problem is the appliance that sits and runs for hours: slow cookers, electric griddles, air fryers, roasters and toaster ovens. Steady heat can discolor resin based surfaces and stress any stone. Set a trivet or heat resistant board under them, particularly during holiday cooking or canning season when the counter is crowded and appliances run all day.
Cutting Habits
Use a cutting board every time. Knives scratch laminate, solid surface and wood, and they can mark some stones. On granite and quartz the counter usually wins and the knife edge loses, so cutting directly on the surface dulls your knives quickly. Cutting directly on granite or quartz is not harmless to either the blade or the top.
Preventing Chips and Cracks
Chips happen in predictable places: sink edges, around the dishwasher, and on sharp square edges and corners. Set heavy cast iron, stockpots and stand mixers down gently, and avoid knocking pots against the edge while washing up.
Do not sit, stand or kneel on a counter, especially on a kitchen island or peninsula overhang. Unsupported overhangs and seams can crack under concentrated body weight. Keep a step stool handy for reaching high kitchen cabinets.
Lift appliances instead of dragging them, and put felt pads under the ones that stay put. Rough unglazed mug bottoms, ceramic canisters and grit under a sliding appliance can scratch polished stone and leave dull tracks on solid surface. A kitchen appliance lift is not needed for this; a habit of lifting is enough.
A Yearly Inspection
Once a year, look at the silicone line around an undermount sink and along the backsplash. A cracked, peeling or black stained bead lets water reach the cabinet below and the edge of the counter. Replace the caulk if it has failed.
Check the seams at the same time. A seam that has opened, lifted or lost its filler should be repaired by a fabricator before water and crumbs work into it. Do not try to grind or level a stone seam yourself.
Leave Cutting and Drilling to a Fabricator
Cutting, drilling or grinding stone at home without wet methods and respiratory protection is a health risk. Dry cutting releases fine dust from silicon dioxide (silica), which can cause silicosis, and engineered stone is especially high in silica. Small DIY cuts or faucet holes in engineered stone are not safe without dust control. Hire a fabricator for cutouts, new faucet holes and edge repairs.
Outdoor Kitchens in Oklahoma
Intense Oklahoma summer sun can fade or discolor resin based engineered stone. Before installing any material outside, confirm it is rated for outdoor use.
A Simple Weekly Rhythm
- Every day: wipe with soap and water, dry, blot spills at once, use a cutting board and trivets.
- Twice a year: run the water drop test on natural stone, and check butcher block for dryness, more often in winter.
- Once a year: inspect the caulk and the seams, and check tile grout.
Small habits like these cost almost nothing, and they prevent the burns, swollen seams, etched polish and chips that usually send Tulsa homeowners shopping for a replacement top years early.
Countertop Overlay in Tulsa: Can New Tops Go Over Old Ones?
2026-11-07
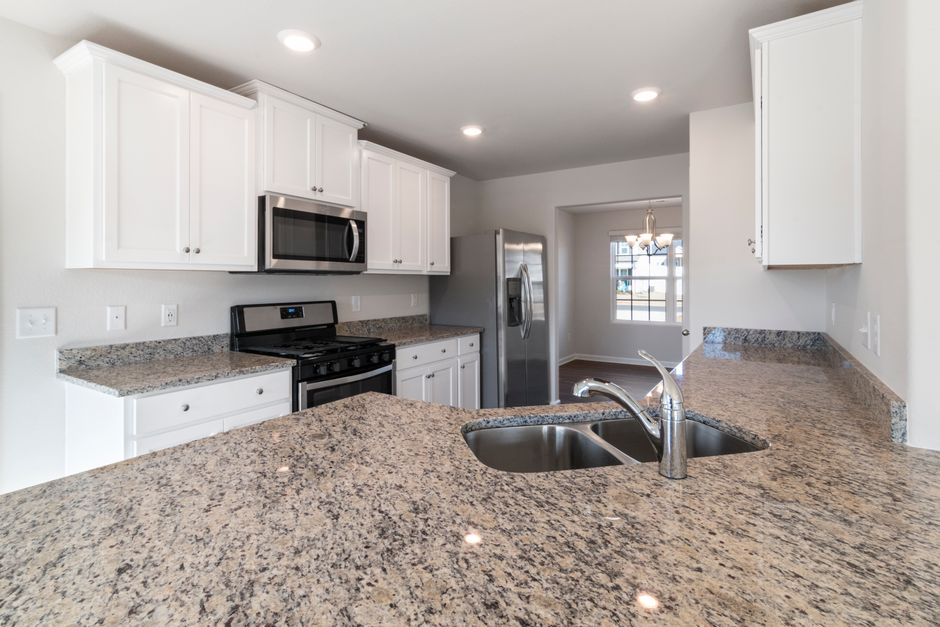
A new countertop can be installed over an old one in a Tulsa home, but only when the old surface is flat, firmly attached, and completely dry, and when the cabinets, sink location, and layout are staying put. If any of those fail, the overlay hides a problem instead of solving it, and full removal is the better path.
Start With the Old Surface
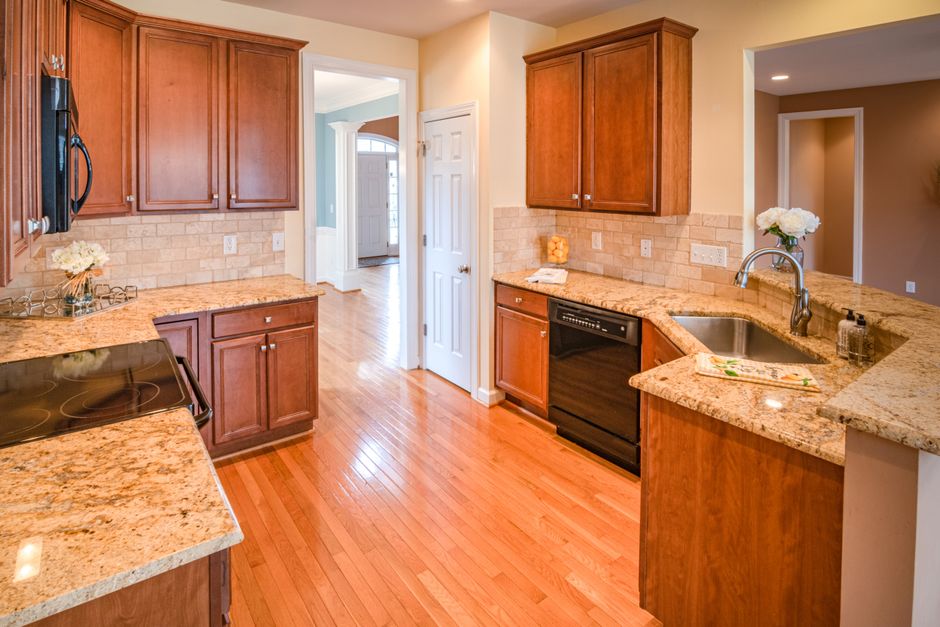
The existing top is the foundation for everything that goes on it. Sound laminate, solid stone, and tile that can be made flat are often good candidates. Crumbling, swollen, or loose tops are not.
The straightedge test
Lay a straightedge of at least 4 feet across the counter in several directions: along the length, across the depth, and diagonally. Mark every gap and every spot where the straightedge rocks. Thin, rigid materials such as thin engineered stone or thin solid surface can crack over high spots or lose adhesive contact over low spots. A surface that is slightly off may be corrected with the right prep, but a badly uneven top is a reason to remove it.
Grout lines and texture
Tile is a special case. Grout lines and textured stone, including flamed finishes, can telegraph through a thin new surface or weaken the bond. They need to be filled and leveled first, and a new top never magically hides them. If the tile is loose, cracked in many places, or sitting on a thick mortar bed that sounds hollow, removal is usually simpler.
Surface prep
Grease, old silicone, and loose sealant have to come off. Scuffing or priming should follow only what the product maker directs, since approved substrates and prep vary from one product to the next. If the maker does not approve the old material as a base, the overlay is off the table.
Water Damage Decides More Jobs Than Anything Else
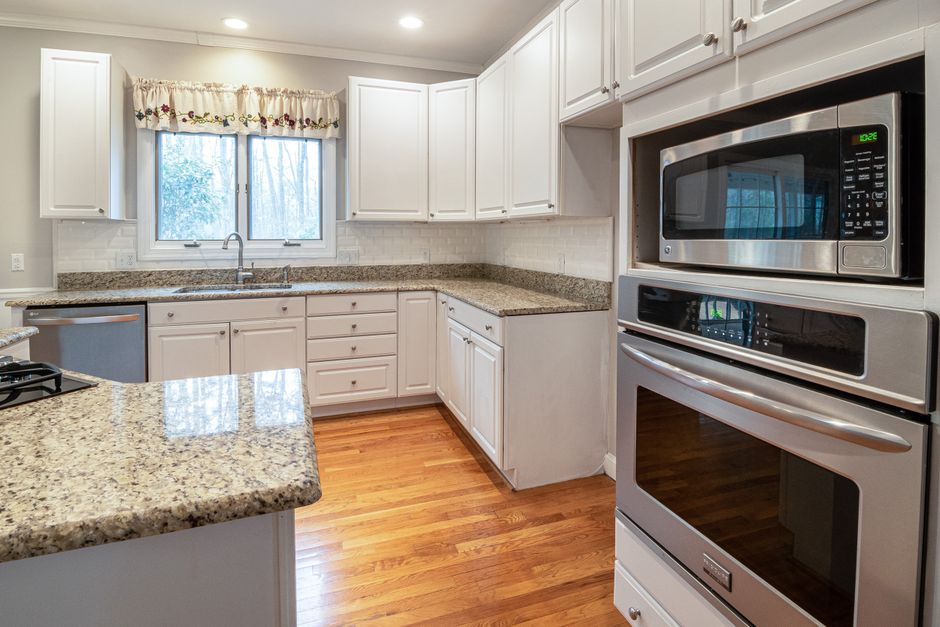
Press firmly around the sink, the dishwasher, and every seam. Then open the sink cabinet and look for stains, swollen particleboard, or a soft spot. Soft, swollen, or crumbling substrate means the old top should come out. An overlay would cover the damage, not stop it, and mold or rot would keep going underneath.
Check for hidden leaks first
Run the sink and the dishwasher, then check the cabinet floor, the shutoff valves, and the drain connections. Fix any leak before ordering anything. Once the new top is on, the sink and plumbing are harder to reach, and a slow drip can ruin a fresh installation. Old shutoff valves also deserve a look, because they can seize or leak the moment they are disturbed.
Tulsa Soil and Moving Cabinets
Clay soils in the Tulsa area shrink in drought and swell in wet periods, and that can shift slabs and cabinet runs over time. If the kitchen also has sticking doors, new drywall cracks, or a counter that visibly slopes, investigate the movement before adding a rigid layer. Continued movement can crack a new top or open its joints. An overlay cannot fix a moving foundation.
The cabinets themselves need an honest look too. Check for racking, loose face frames, sagging spans, and water-damaged cabinet floors. Older site-built cabinets and long unsupported runs deserve extra attention. If a kitchen cabinet already flexes under the existing top, repair it first or choose full removal.
Weight: Light Overlays Still Add Load
Thin overlays weigh far less than full slabs, but the combined load still matters. The old top stays in place, so the cabinets carry both layers.
That matters most when the existing top is already heavy. Old mortar-bed tile and full-thickness stone carry substantial weight, and a mortar bed can add surprising thickness. If another layer would strain the cabinets, removal makes more sense. A kitchen island with an overhang or a long span between supports deserves the same scrutiny.
Height: A Small Change With Large Effects
Add the overlay thickness and the adhesive thickness to the current counter height. Then test the result by stacking cardboard to the new height on the old counter and living with it for a moment. Check it against:
- Standard-height stools that fit comfortably today
- Upper cabinets, especially where a gap already feels tight
- Countertop appliances that barely clear the underside of the uppers
- Low window sills above the sink
- Backsplash outlets and switches
Older Midtown bungalows and mid-century ranches around Tulsa may have tight clearances, and a higher surface can force a trim, sill, or electrical change. Height changes are not always too small to matter.
Backsplash and wall joint
An integrated laminate backsplash may need to be removed or covered to get a clean wall joint. Removing tile can damage the drywall, so plan for wall repair if it has to come off.
Sink, Faucet, and Appliance Fit
This is where many overlays get more complicated than expected.
Sinks
A drop-in sink usually has to be removed and reset, and its rim must work with the new edge and cutout. Converting to an undermount needs a suitable cutout and solid sink support, and that conversion is often the point where removal becomes simpler.
Faucets and fixtures
Added thickness can exceed the grip range of the faucet's mounting hardware. It can also change how a soap dispenser or air gap fits. Check the maximum deck thickness in the faucet's specifications before the order is placed.
Dishwashers
Top-mounted brackets may still work if the old substrate stays, but confirm they remain accessible and solidly anchored. Also confirm the new edge will not catch the door as it opens or block its handle.
Ranges and cooktops
A freestanding or slide-in range may need leveling to sit properly beside a higher surface, and leveling feet have limited travel. A drop-in cooktop must be removed and refit, using only the materials and clearances its manual allows.
Edges and drawers
Overlay edges often wrap the old edge, which changes the visible thickness and overhang. During the template stage, open every drawer and door to catch collisions, especially near corners and appliances.
Which Materials Work as Overlays
Common options include thin engineered stone, thin solid surface, new laminate, and coatings such as epoxy or cementitious microtopping. Engineered stone is usually sold in full thickness, so ask whether a thin version exists and whether the maker approves it over an existing top.
Not every material behaves like a full-thickness top. Warranty terms, heat tolerance, and durability can differ, so ask for specifics.
Butcher block
Wood moves with seasonal humidity. Butcher block should never be locked rigidly to an old top with a full bed of adhesive. Use a fastening method that allows movement, seal all faces and cutouts, and take extra care around the sink.
Coatings and Tulsa humidity
Coatings and adhesives have stated temperature and humidity ranges for installation and curing. Humid Tulsa summers can push a kitchen outside them, so avoid adhesive work in an unconditioned room or during a prolonged air conditioning outage.
Safety Before Anyone Cuts Anything
Cutting or grinding engineered stone and many natural stones can release respirable silica dust (silicon dioxide), which can cause silicosis. Ask that fabrication happen off site where possible, and require wet cutting or proper dust extraction and respiratory protection for any work done in the home. An overlay is not automatically dust free.
In older homes, countertop backing, adhesives, and nearby flooring or wall materials may contain asbestos or lead paint. If any demolition or cutting will disturb suspect materials, have them tested first. An overlay may reduce the disturbance but does not eliminate it.
When Full Removal Is the Better Choice
Choose removal when any of these apply:
- Rot, mold, or soft substrate
- Active movement in the slab or cabinet run
- A badly uneven top
- Plans to move plumbing or replace cabinets
- Stacked thickness that creates clearance trouble at windows, outlets, or appliances
- A product maker that does not approve the existing substrate
Removal costs more effort up front, but it lets the installer see and repair what is underneath. It also avoids a future tear-out that involves both layers.
Questions to Settle Before You Order
Ask the installer to confirm these in writing:
- The final counter height
- The edge profile and overhang
- The sink and faucet plan
- Seam locations
- What happens if hidden damage appears once work begins
- The warranty's terms for overlay installations
An overlay can be a smart, less disruptive upgrade in a Tulsa kitchen with a flat, dry, solid top and healthy cabinets. When the checks above raise doubts, tearing out the old surface is the better route.